For centuries, medieval wooden chests have been an iconic symbol of craftsmanship, practicality, and elegance. These sturdy and beautifully crafted pieces of furniture were used for storing valuables, clothing, and even treasures in castles, homes, and monasteries. Today, creating a medieval wooden chest can be a rewarding project for both novice and experienced woodworkers alike. In this article, we explore medieval wooden chest plans, offering inspiration and guidance for those interested in recreating this timeless piece of furniture.
Why Build a Medieval Wooden Chest?
Building a medieval wooden chest is more than just a woodworking project—it’s a connection to history. These chests were essential in the medieval era, not only for storing possessions but also as symbols of wealth and status. Today, crafting a medieval wooden chest can serve multiple purposes:
-
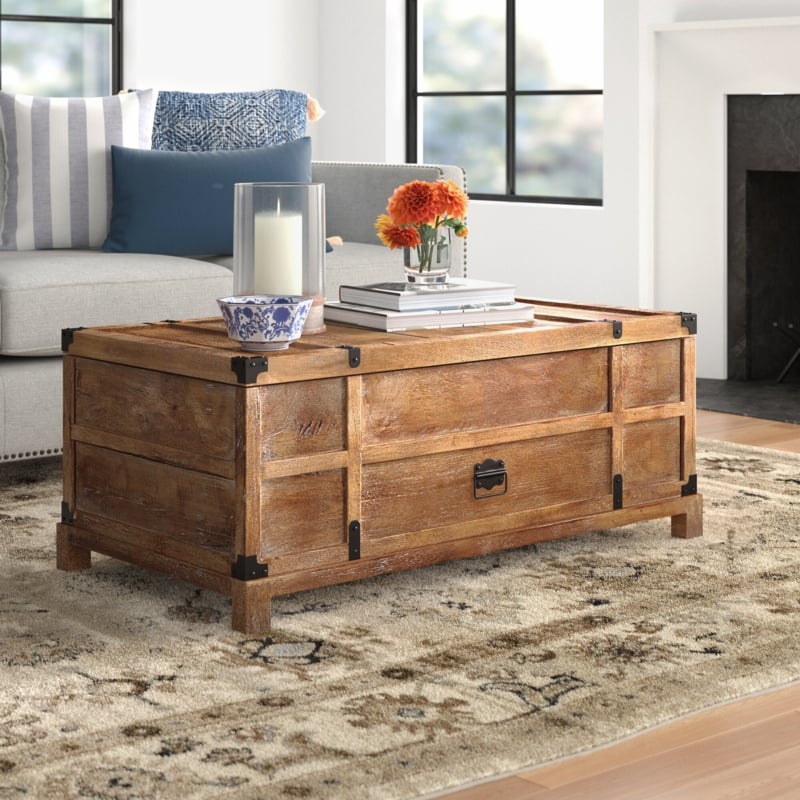
Aesthetic Appeal: The intricate designs and rustic charm of medieval chests make them beautiful additions to modern homes, particularly in rustic, vintage, or medieval-inspired interiors.
-
Functionality: Medieval chests are known for their durability and spaciousness. They provide excellent storage for a variety of items such as blankets, clothes, or keepsakes.
-
Skill Development: Building such a project can help develop your woodworking skills. From precise measurements to carving details and jointing, it’s an excellent way to improve your craftsmanship.
By using medieval wooden chest plans, you can recreate a piece that speaks to the craftsmanship of the past while adding a personal touch that reflects your own style and abilities.
Essential Tools and Materials for Building a Medieval Wooden Chest
Before diving into your project, it’s important to gather the necessary materials and tools. Building a medieval chest requires a combination of woodworking tools and quality materials to ensure the chest is both durable and beautiful.
Materials:
-
Wood: The best choice for building a medieval wooden chest is hardwood, such as oak, maple, or walnut. These woods are known for their strength, durability, and attractive grain patterns.
-
Wooden Dowels: To strengthen the joints, wooden dowels can be used, especially in the frame and lid.
-
Hardware: Medieval chests often feature heavy-duty hinges, brass handles, and decorative nails. Brass or wrought iron is ideal for achieving an authentic look.
-
Wood Stain or Finish: A dark stain, such as walnut or mahogany, can bring out the natural wood grain and give your chest an aged, antique appearance.
Tools:
-
Measuring Tape and Square: For accurate measurements and angles.
-
Saw: A circular saw or handsaw will be necessary to cut the pieces to size.
-
Hammer and Nails: To fasten the wooden pieces together, though wooden dowels and screws may also be used for added strength.
-
Drill: A drill will be required to create holes for dowels, screws, and hinges.
-
Wood Chisels: If you want to carve detailed designs or add decorative elements to your chest, wood chisels are essential.
-
Sander or Sandpaper: To smooth the wood surfaces and prepare them for finishing.
Step-by-Step Guide: How to Follow Medieval Wooden Chest Plans
Building a medieval wooden chest can be broken down into manageable steps. Whether you’re following medieval wooden chest plans from a book or online guide, the basic process remains the same.
1. Choose Your Design
The first step in building your medieval chest is deciding on a design. Medieval wooden chests come in various styles—some are simple, while others feature intricate carvings and detailed metalwork. When selecting a plan, consider the following design elements:
-
Size and Dimensions: Will the chest be used for storage or display? Measure the space where you intend to place the chest.
-
Decorative Features: Some chests feature ornamental carvings or decorative metal bands that give them an authentic medieval look. Choose a design that suits your level of skill and desired outcome.
2. Prepare the Wood Pieces
Once you’ve selected your design, the next step is to cut and prepare the wood. Depending on the size and complexity of the chest, this could take some time.
-
Cut the Panels: Use your saw to cut the wood panels for the base, sides, and lid of the chest. Ensure that all pieces are of uniform size and shape to prevent any gaps when assembling the chest.
-
Cut the Lid: The lid is typically one of the most important parts of the chest. Some medieval chests have arched lids, so you may need to use a jigsaw or coping saw to create the desired shape.
3. Assemble the Frame
Begin by constructing the basic frame of the chest. This includes the base and sides. If your medieval wooden chest plan calls for dowels or wooden pegs to join the pieces, drill pilot holes and insert the dowels. You can also use wood glue for added stability.
-
Attach the Sides to the Base: Carefully align the side panels with the base of the chest and secure them with nails, screws, or dowels.
-
Add Reinforcement: If the design includes cross beams or additional reinforcements, make sure to add these at this stage. They will provide extra support for the chest’s structure.
4. Create the Lid and Hinges
Now, focus on building the lid. Most medieval wooden chest plans feature a hinged lid for easy opening and closing. The hinges can either be attached to the inside or outside of the chest, depending on the design.
-
Shape the Lid: If your plan calls for an arched lid, use a jigsaw to carefully cut the curve. Sand the edges to smooth them out.
-
Attach the Hinges: Secure the hinges to the back edge of the lid. Use screws or nails to hold them in place, making sure they are sturdy enough to support the weight of the lid.
5. Add Decorative Elements
Medieval chests are known for their ornate details. Depending on your skills and the complexity of your chosen plan, you can add various decorative features:
-
Carvings: Use a wood chisel to carve patterns, such as floral motifs, geometric shapes, or symbolic designs, into the chest’s surface.
-
Metal Accents: Brass corner brackets, handles, and decorative nails can be added to give the chest an authentic medieval look.
6. Finish and Stain the Chest
Once your medieval wooden chest is fully assembled, it’s time to finish the piece. Sand the surface of the chest to remove any rough spots and ensure a smooth finish.
-
Stain: Apply a dark wood stain to enhance the natural grain of the wood and give it an aged appearance.
-
Sealer: For added protection, apply a clear wood sealer to protect the surface and preserve the finish.
Where to Find Medieval Wooden Chest Plans
For those interested in taking on this project, many online resources provide free or paid medieval wooden chest plans. Websites such as Instructables, Pinterest, and woodworking forums are excellent places to start. If you prefer more detailed plans, consider purchasing books or guides that specialize in medieval furniture designs.
Conclusion: Craft Your Own Medieval Wooden Chest
Building a medieval wooden chest is an excellent way to connect with centuries-old craftsmanship and create a functional, beautiful piece of furniture. By following detailed medieval wooden chest plans, you can design and construct your very own version of this iconic item. Whether for use in your home, as a display piece, or as a gift, your medieval chest will be a lasting testament to your skill as a woodworker and your appreciation for history.
By gathering the right materials, tools, and plans, and following the step-by-step process, you’ll have a beautiful medieval-style chest to cherish for years to come. So, dust off those woodworking tools and get started on your own medieval chest project today!